
NAILS | OMBRE SNOWFLAKE NAILS*
Saturday, December 28, 2013
A tiny bit late but still time for a festive last minute manicure before its time to get my new year nails done! I love this manicure its so pretty and the snowflakes on the ombre blue nails I think look really nice together! To see a step by step guide on how I achieved this manicure, continue reading...


I started off by painting all of my nails with two coats of the darkest creme polish from the set. I waited for them to completely dry before I started my ombre nails.

Then I painted thin stripes of polish on the sponge with the 3 other polishes going from darkest to lightest shade as shown in the picture above.

Whilst the polish on the sponge was still wet I gently pressed the polishes onto my nail to create an ombre effect. It is quite a messy process as the excess polish will be around your nail but you can easily remove this with an ear bud and some nail polish remover.


Then taking my tweezers and my snow flake nail art stickers from Nailtopia , I placed them all over my ombre nails and thumb. These stickers are so easy to use and last ages. As they lay pretty flat to my nails they don't irritate me and when sealed with a top coat last a good 5-7 days which is perfect for a christmas manicure!

The stickers come in a pack as shown for £2.49 and are available from www.nailtopia.co.uk.

I love how these nail art stickers look on my nails and think they look awesome on top of the ombre nail polish.

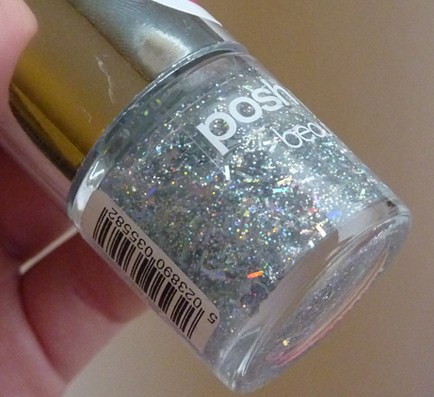
Even though my nails looked pretty I decided this manicure needed a little sparkle so I painted a coat of my favourite silver glitter polish from Beauty UK called Twinkle Twinkle.
I love how the finish manicure looked and it was really pretty sparkling in the light and sun light. I painted a top coat using my Barry M top coat and the nails lasted me 5 days! Which is good!


10 Comments
Hello sweetie!
ReplyDeleteFirstly I wanted to comment on here to let you know that it doesn't allow me to reply to your youtube comments for some reason so I wanted to say thank you for you kind comment on my hair tutorial video!
I also wanted to wish you a merry xmas!!
I love these nails! They look super pretty, you really are awesome at nail art :D
Have a lovely new years eve!
Lots of love
Dominique xoxo
www.euphoria-xoxo.co.uk
Hey! Aww thank you for letting me know! thats annoying that you cant reply to my youtube comments, im not 100% sure why but im sure its when google + got involved with youtube its broken it :( x Thank you thats so kind! x Happy New year!
DeleteSophie
x
ooooh these look amazing! Perfect for christmas! xo
ReplyDeletehttp://prettypetticoats.blogspot.co.uk/
Thank you :)
Deletex
I love the ombre style nails! They're so cute and interesting!
ReplyDeleteSharlotte
Thank you :) I love ombre too! x
DeleteYour nails look amazing x
ReplyDeleteHeather | Of Beauty & Nothingness
thanks Heather! x
Deletethese are gorgeous sophie :) x
ReplyDeleteThank you Beth! x
DeleteThank you for commenting! I love reading your comments and will always try and reply either on this post or by visiting your blog! Want a quicker response follow me on twitter and tweet me @Sophiejenner
Sophie
x